So, you have decided to move to Cloudways, like I did recently. This website was hosted on SiteGround & recently I have moved my website from SiteGround To Cloudways. After the price hike from SiteGround, I was looking for an alternative and finally decided to go with DigitalOcean server of Cloudways hosting.
In this tutorial I am going to share the step by step guide to install WordPress on Cloudways. The process is not similar to other cPanel based hosting companies that we are used to do. But even though I found this is quite easy only. Just follow the steps 1-2 times by creating a test application before you are ready to install WordPress on your primary domain.

How To Install WordPress On Cloudways in 2021 – Step By Step Guide
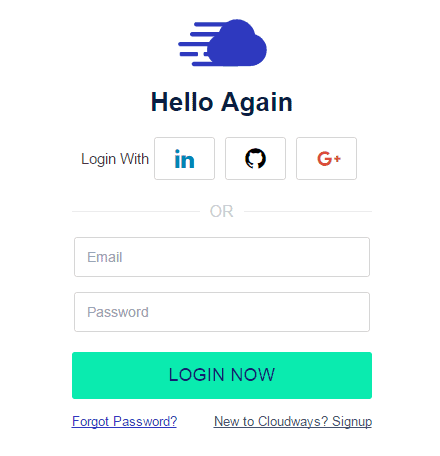
So, I am assuming that you have registered with Cloudways already and finished the verification process. If not done, it’s quite easy to follow. Just use your email & other details, provide the Cloudways Promo Code BLOGGINGJOY to get 10% discount for first 3 months and register. After that you have to verify your account with email & mobile number. That’s it. Now let’s follow the step by step guide to install WordPress on your Cloudways account.
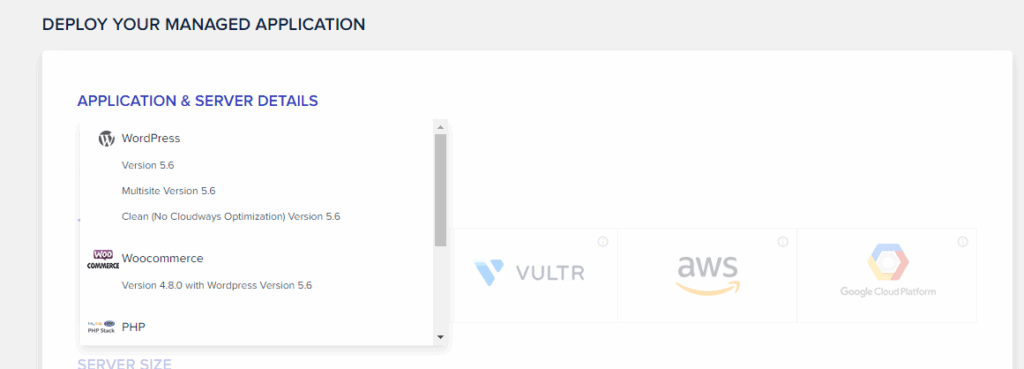
Step 1: As soon as you login, you have to create a server first. Now click on Add Server button and it will open up a screen below from where you need to choose WordPress 5.6. This is the current version and at the you follow this tutorial, it may be something different.
Step 2: Next, it will open a screen like below. You need to provide various details of the server that you want to create. This is like choosing the right configurations as per your budget. As a beginner, you can start with Digital Ocean server with 1 GB Ram which will cost you $10/mo. You will get first 3 days free trial and after that the Coupon Code will be activated for next 3 months. You can also choose from many server location or data centers as per your main traffic source.
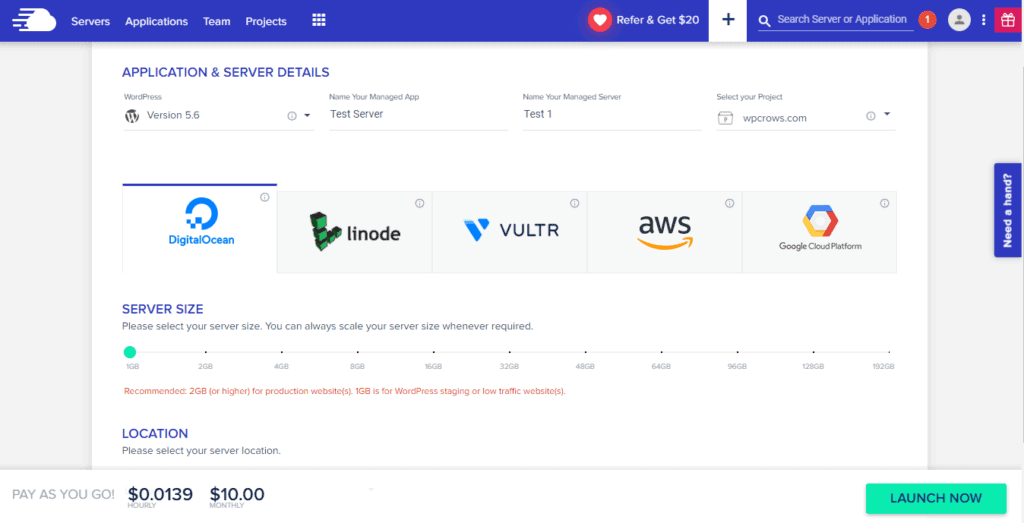
Step 3: After selecting everything, you need to click the Launch Now button. You can see that the new server will be adding on your Cloudways account. This is a test server I am creating to prepare this tutorial. You can see that my active server for this blog is also visible below. Anyway, this step will take few minutes before it’s done.

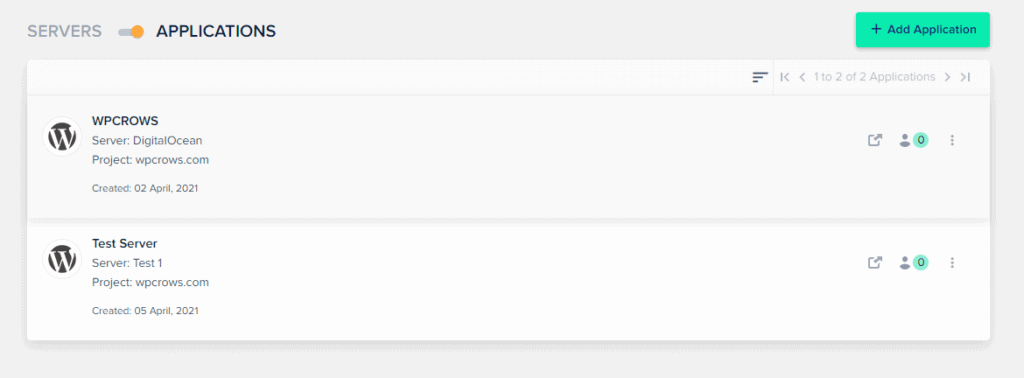
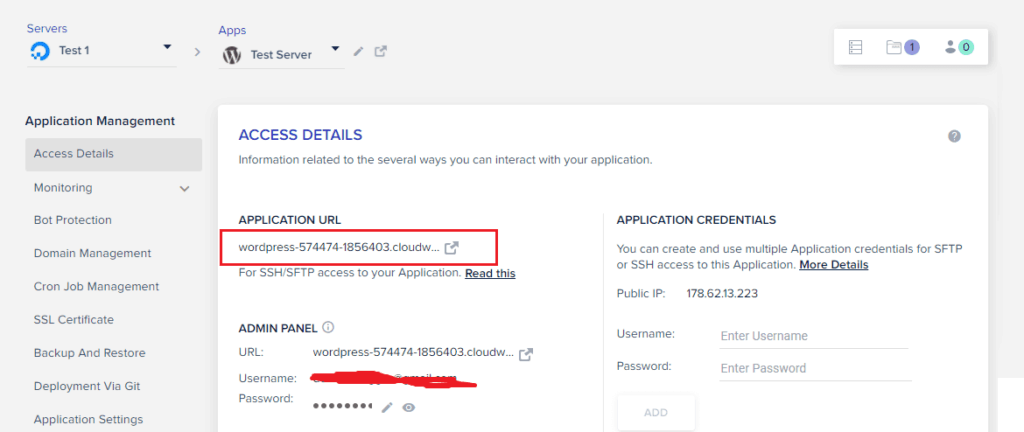
Step 4: Next you have to go to Applications option. You can see that 2 applications are listed here. This is like each application is a website. You can see my main website and below is the Test website where WordPress is installed already. Just click on that test application.
Step 5: Now inside you will find that, Cloudways will assign a temporary URL for your WordPress website. You can click on that and visit the website, access Ad min area etc. That’s it, isn’t is too easy to install WordPress in Cloudways?
Whenever you want to add another website, just go back to application page and click Add Application. While choosing the server details choose WordPress and the follow this entire tutorial. This way you can add as many websites as you want. But it’s better to check server resources gradually and then add more websites.
What’s Next
Next you need to add your primary domain name so that you can link your website with the domain. I have created 2 separate tutorials for GooDaddy & NameCheap so that you can follow the exact steps to point your domains with Cloudways.
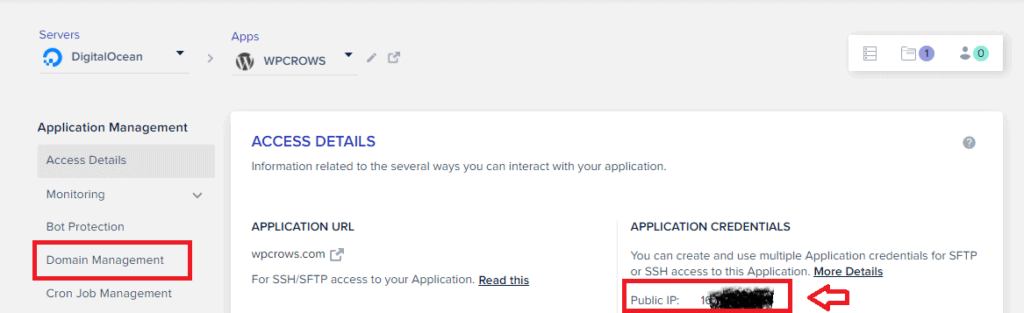
After that you need to get back to Cloudways application area and then go to Domain Management. You have to replace the temporary URL with your actual domain name that you have linked like below.
After that domain linking, we need to install SSL certificate on our domain that I am going to cover in the next tutorial. If you have any question regarding WordPress installation in Cloudways hosting, then write a comment below. I will reply and help you for sure. Thanks for reading & sharing this article.